| >>家サーバーを構築しよう>>自宅サーバー構築の前に>>ApacheでPHPを動かしたい |
PHPとは、高速で簡単な言語です。参考書も、Perlに負けないくらいたくさん販売されています。何よりも、サーバーへの負荷の低さが特徴ですね。しかし、バージョンによって動作が違うため、これは動くけどあれは動かない、みたいな事になって、ちょっとややこしいです。 http://www.php.net/downloads.phpから、PHPをダウンロードします。installerをダウンロードして下さい。ここでは、現時点の最新版である(2004年07月30日現在)5.0.0をダウンロードします。ダウンロードする時にどこからダウンロードするかを聞かれますが、どこでも構いません。ただ、自分の住んでいる国からダウンロードすると、早く出来るでしょう。  ダウンロードすると、このようなファイルが作成されるはずですので、これをダブルクリックします。 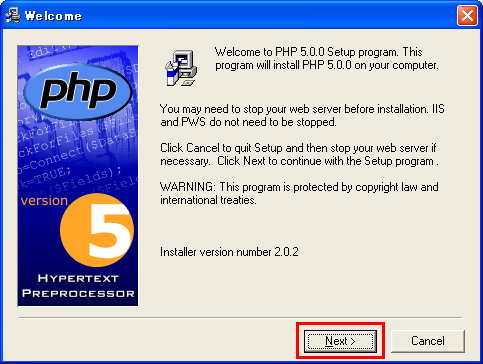 すると、このようなインストーラーが起動します。「Next」をクリックして下さい。  内容を良く読み、「I Agree」をクリックします。 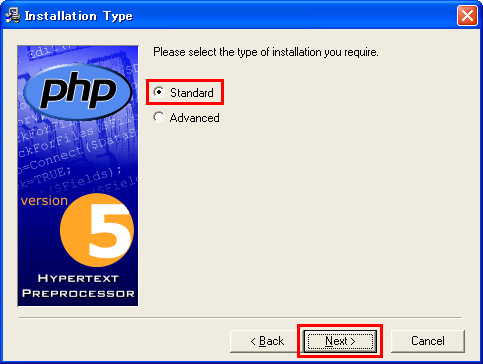 「Standard」を選択し、「Next」をクリックします。 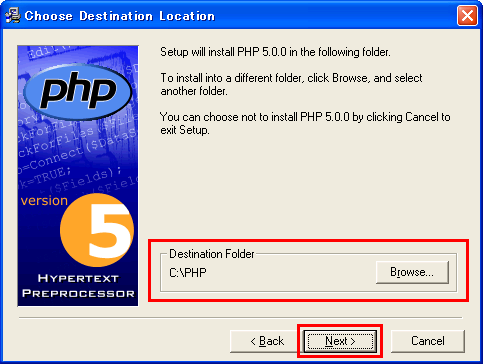 インストール先を指定します。デフォルトで問題ありませんが、変更したい場合は変更して下さい。 そして、「Next」をクリックして下さい。 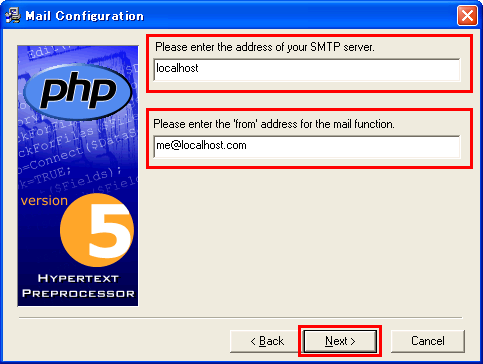 SMTPサーバーのアドレスと自分のメールアドレスを記入します。用意出来ていない場合は、デフォルトで問題ありません。 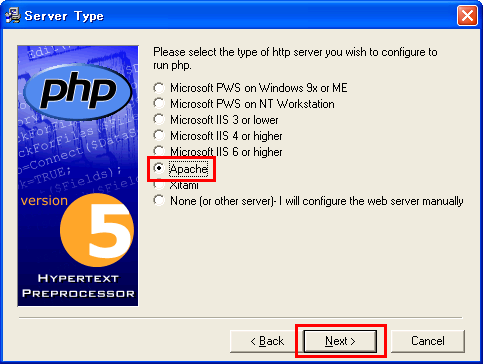 「Apache」を選択し、「Next」をクリックします。 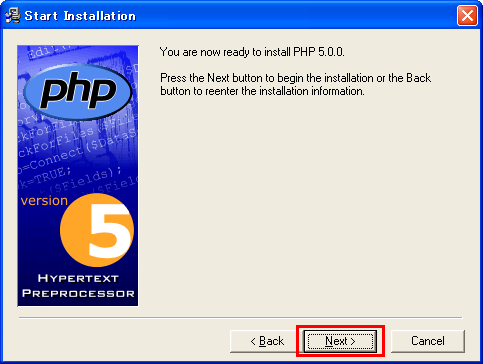 「Next」をクリックするとインストールが開始されます。 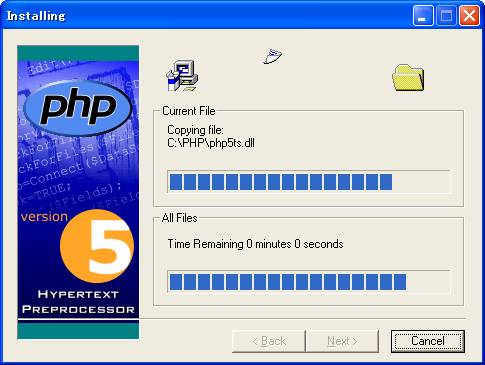 インストール中です。 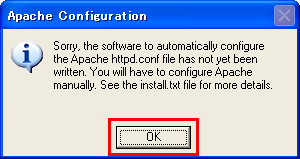 「OK」をクリックします。 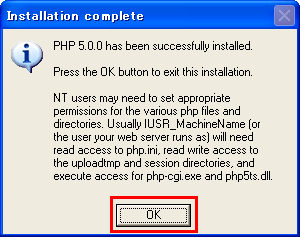 「OK」をクリックします。これでインストールは完了です。 このままでは、PHPはただのテキストファイルとして扱われてしまいますので、Apacheの設定が必要です。 httpd.confをテキストエディタで開いて下さい。 521行目付近を編集します。 ScriptAlias /cgi-bin/ "C:/Program Files/Apache Group/Apache2/cgi-bin/" ↓ ScriptAlias /cgi-bin/ "C:/Program Files/Apache Group/Apache2/cgi-bin/" ScriptAlias /php/ "C:/PHP/" ←これを追加する 次に、773行目付近を編集します。 AddType application/x-compress .Z AddType application/x-gzip .gz .tgz ↓ AddType application/x-compress .Z AddType application/x-gzip .gz .tgz AddType application/x-httpd-php .php ←これを追加する AddType application/x-httpd-php-source .phps ←これを追加する 次、815行目を編集します。 # Action lets you define media types that will execute a script whenever # a matching file is called. This eliminates the need for repeated URL # pathnames for oft-used CGI file processors. # Format: Action media/type /cgi-script/location # Format: Action handler-name /cgi-script/location # Action applications/x-httpd-php /php/php.exe ←これを追加する 設定は、これだけです。 では、コンピューターを再起動させて下さい。 Apacheの再起動のみでは、PHPが動作しません。 それでは、PHP動作確認用に簡単なPHPを設置してみましょう。 まず、C:\HomePageにphpinfo.txtというテキストファイルを作成して下さい。 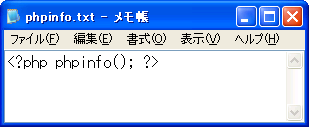 メモ帳などで開き、 <?php phpinfo(); ?> と記述して下さい。そして保存して下さい。 phpinfo.txtというファイルを、phpinfo.phpというファイル名へ変更します。 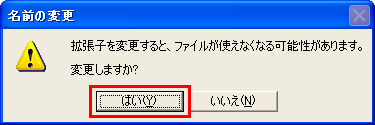 このような警告が表示された場合は、「はい」をクリックして下さい。 しかし、phpinfo.txtなどの拡張子(.txtの部分)が表示されていない方もいらっしゃると思います。 そのような方は、下記の設定をして下さい。 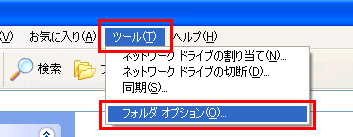 適当なフォルダを開き、「ツール」→「フォルダ オプション」をクリックします。 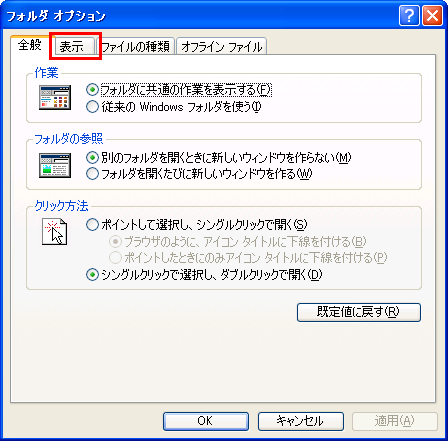 このような画面が表示されますので、「表示」をクリックします。 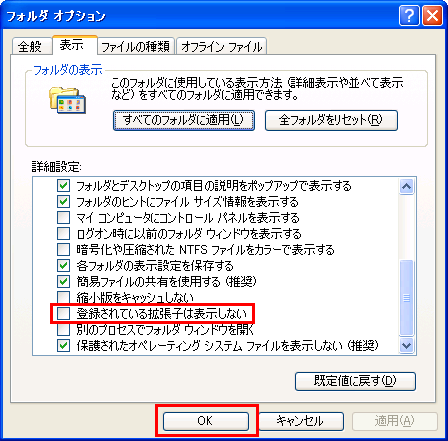 詳細設定の下の方にある「登録されている拡張子は表示しない」のチェックを外します。 そして、「OK」をクリックします。これで、表示されるようになったはずです。 |
トップへ戻る